


As always I didn't follow a recipe but just experimented in the kitchen and came up with this. I have had rave reviews from those lucky enough to try them so I'm hoping you will enjoy them too!
Ingredients:
Makes 12-15 cups
300g of Dark Chocolate (ideally 75% plus)
1 dash of Olive Oil or teaspoon of Butter (real NOT margarine) or Coconut Oil
1 tablespoon of Raw, Organic Honey/Mayple Syrup or leave this out for a lower sugar version.
1 teaspoon of Cinnamon
1 dash of Vanilla Essence or some real Vanilla bean
2 Tablespoons of organic nut butter with no sugar (don't use peanut if staying Paleo)
Sprinkle of Pink Himalaya Rock Salt (you can read all about the benefits of this here)

Method:
Melt the chocolate gently in a pan with the fat of choice (Oil, Butter or Coconut Oil). You can do this in a glass bowl over a pan with some water or directly in the pan. I find the bowl over water works best and you can keep it melted for longer without burning.
Once it is melted add the vanilla, cinnamon and honey and stir well.
Line some muffin tins with paper cases.
Add a thin layer of chocolate to the bottom of each case, you can shake the tray to evenly spread the chocolate.
Allow these to cool and set in the fridge for about 5 minutes.


Please excuse the state of my muffin tins. They are inherited from my mum and about 20 years old. They have served me well over the years!
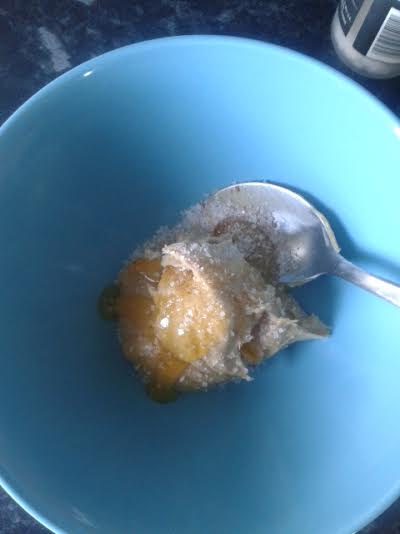
Take 2-3 heaped tablespoons of your nut butter of choice and place in a bowl.
Add in a dash of olive oil/coconut oil/melted butter.
Add in some freshly ground pink salt (taste as you go as some nut butters come already salted so add according to taste) and mix well.
Once the chocolate base is relatively set place a teaspoon or so of nut butter mix onto each base. Spread out and flatten down without touching the side.
Using the still warm and melted chocolate mix fill the paper cases until the nut butter is adequately covered. They will be more shallow than the case.
Again shake or tap the tray to flatten out the chocolate.
Place in the fridge to chill.
Eat straight from the fridge or at room temperature depending on your preference!

It really is that simple. It takes minutes to make and I often make a double batch and keep some in the fridge for when I'm feeling like a treat (if they last that long!)
Prep Time:
5-10 minutes
Cooking Time:
None! Just leave to harden in the fridge.
Dietary Information:
Paleo (ish!) the higher % chocolate the better with this
Good fats - from the oil and seeds/nuts/coconut
Full of antioxidants from the high chocolate content
Full of natural sweetness from the honey
Vegetarian
Vegan (if you use coconut oil and dairy free chocolate)
Gluten Free
Wheat Free

Storage Instructions:
I keep this in a sealed container and it will last weeks in the fridge - provided you don't eat it all.
For similar chocolate, no bake treats check out my Choocolate Bark recipe here
Enjoy Jeanies and as always feel free to comment, share and send me pics of your creations!

No comments:
Post a Comment